Before you start:
If you have already configured default Jira SMTP server and make no changes Mail Me will use it by default.
Note: default Jira SMTP can send a maximum of 100 emails per day on the Free plan, then email notifications will be paused until the following day.
We recommend to set up a custom SMTP server using the steps below:
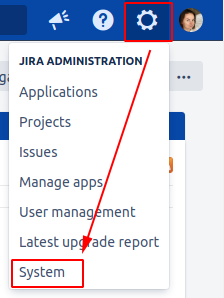
Step 1. Go to the Jira Administration tab and select System section.
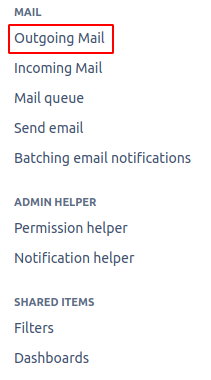
Step 2. On the left side menu panel find MAIL tab and click Outgoing Mail.
Step 3. In the opened window, you’ll see a list of configured SMTP servers or Configure new SMTP mail server button.
Click Configure a new SMTP mail server if you want to add a new default Jira SMTP server.
Click Edit to change the existing one.


Step 4. If you want to use Google or Yahoo SMTP server you can follow our instructions:
Click here if you use Gmail as SMTP server
Click here if you use Yahoo! Mail Plus as SMTP server
In other cases, please use the descriptions and prompts on the screen to fill the fields. Don’t forget that the required fields are marked with *.
Buttons:
Test Connection - allows you to check the connection to the SMTP server. In case of an unsuccessful connection, a message appears with a description of the error.
Save - custom mail server saving.
Cancel - allows you to return to the “Custom SMTP server” page without saving data.
