It is apparent that there is actually no need for all users to manage all Git functionality in terms of Project Management to handle issues in Jira. So the ability to add new repositories or commit branches, work with SSH and other personal tokens, are provided their way into work of an Administrator role only.
This guide will show you how to manage and configure Smart Integration for Jira Cloud.
Note that to start working with the application, you need to move to Jira admin area.
In Jira primary navigation menu click Apps and find Smart Git Integration for Jira Cloud in your app list.

How to work with the Repositories page?
After app installation, the repositories table will be empty. To start using Smart Git Integration for Jira you need to add all the repositories you need to be used in Jira.
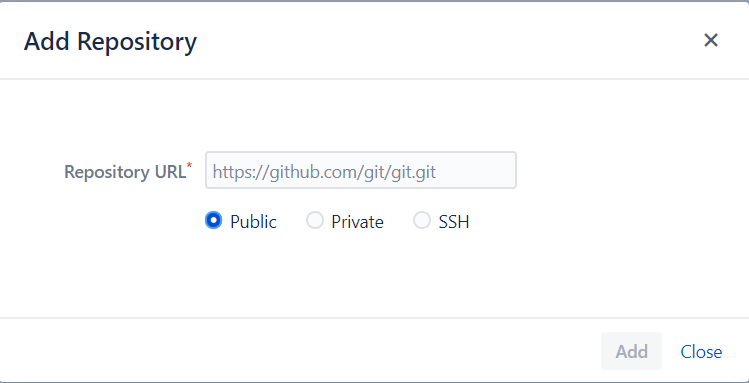
Click Add repository button.

Select repository type.
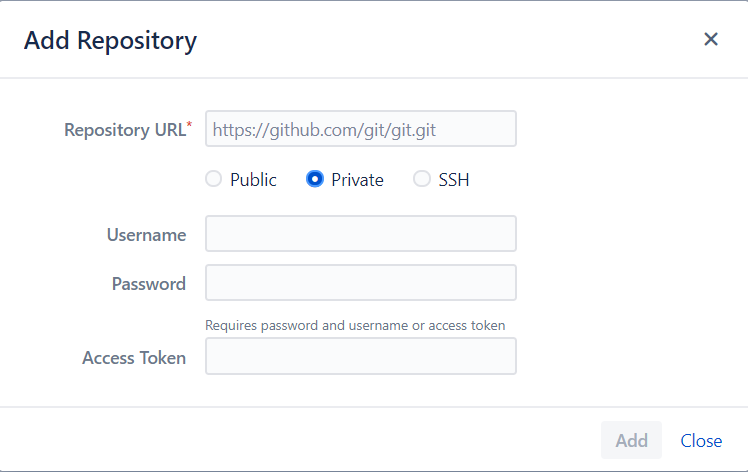
You can add either a private or public repository by inserting the link and providing credentials (for private only).
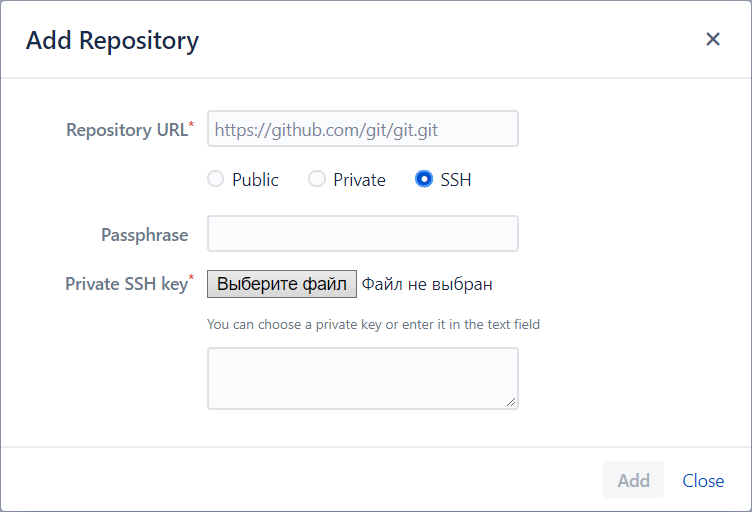
You can add a repository using the SSH key.
2. You can add the needed repository by selecting the relevant provider and providing the requested information to connect.
.png?version=1&modificationDate=1636723408344&cacheVersion=1&api=v2)