To set up and refresh published extracts on a schedule you should use Tableau Bridge to keep data fresh.
Tableau Bridge works in conjunction with Tableau Cloud to keep Web Data Connectors, which Tableau Cloud can't reach directly, up to date.
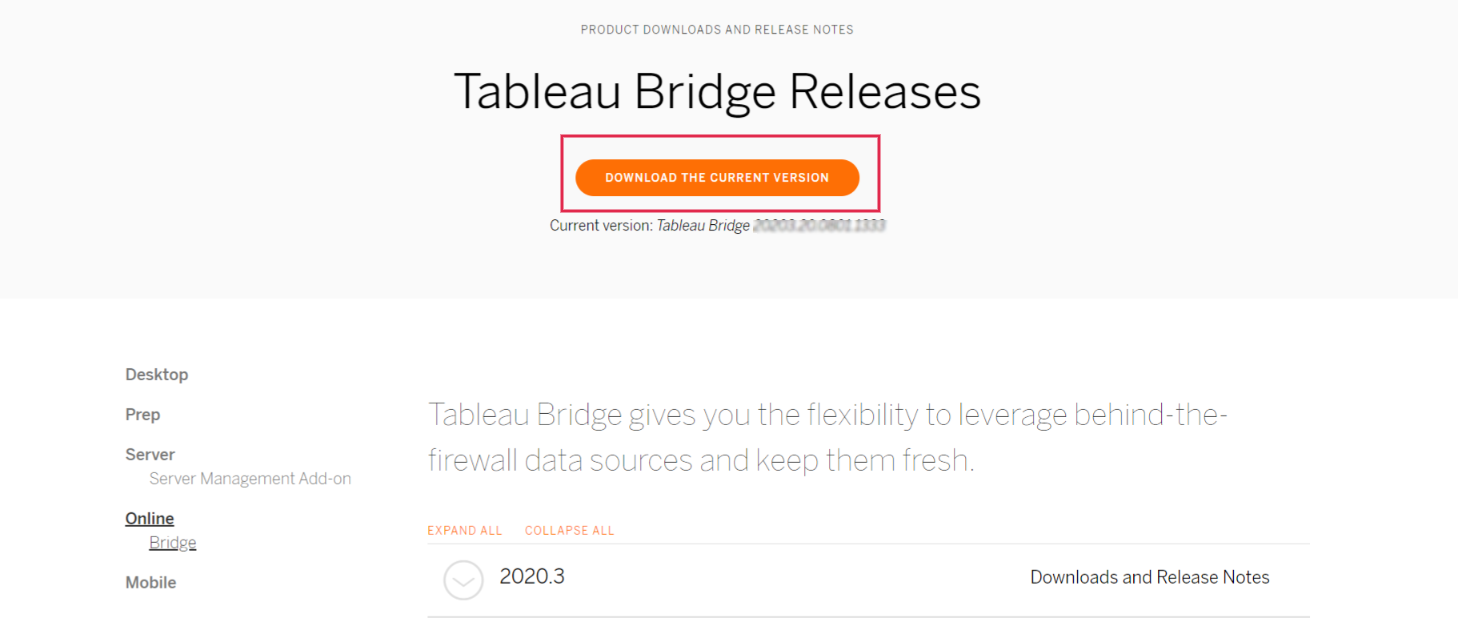
1. Go to the Tableau Bridge Downloads and Release Notes page and download the current version.
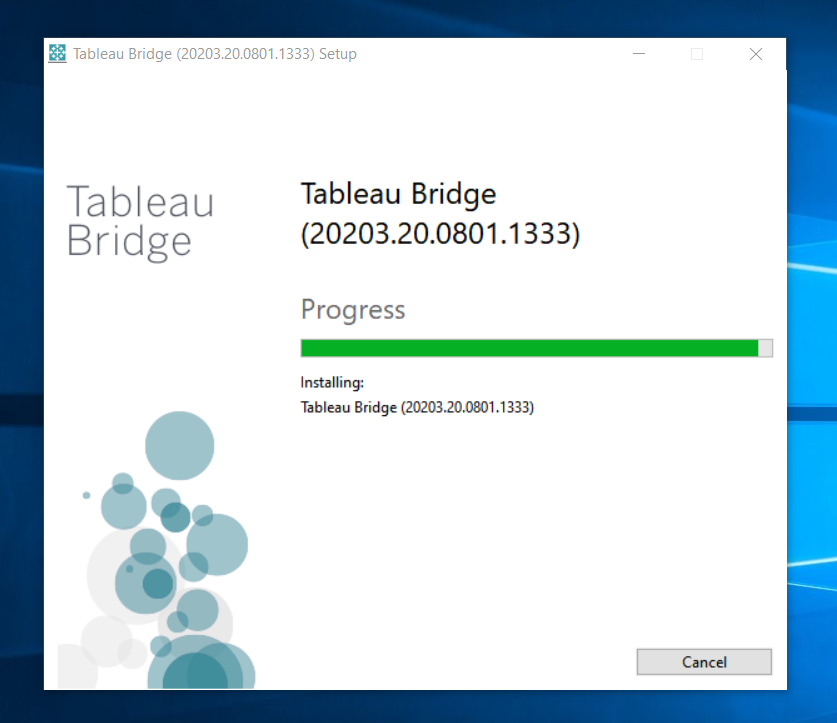
2. Install the Tableau Bridge on your computer by executing the downloaded file. Please follow the simple installer instructions to complete the installation.
For more information please refer to the Tableau Cloud Help article Install Bridge.
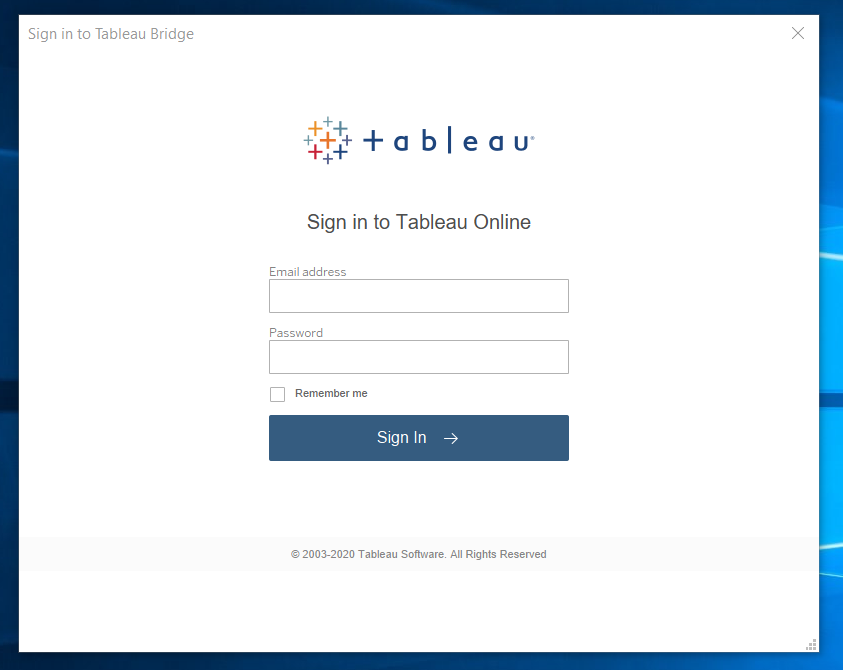
3. After Tableau Bridge has been installed, it will ask you to sign in to Tableau Bridge using your Tableau Cloud credentials.
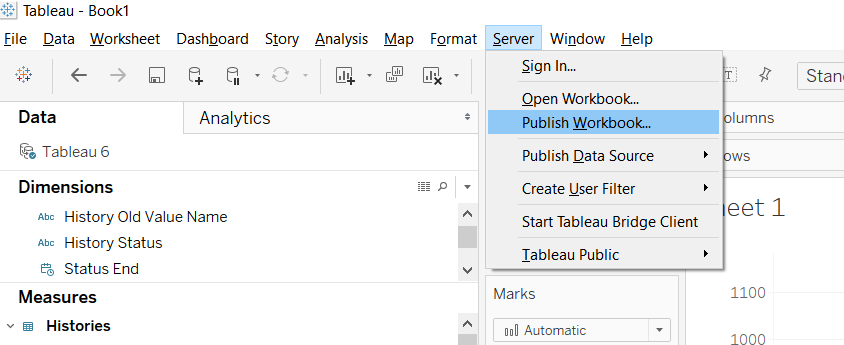
4. In Tableau Desktop prepare the Workbook you’d like to publish to Tableau Cloud.
Then in the main navigation menu of Tableau Desktop select Server and choose Publish Workbook.
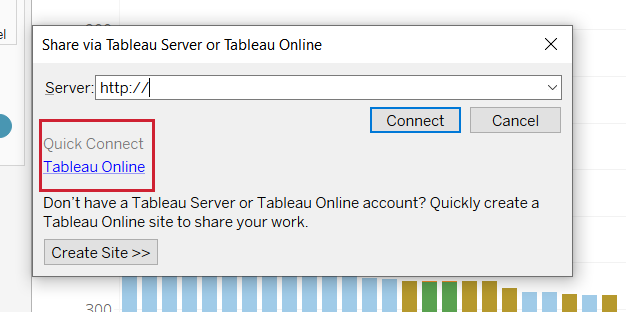
5. Click the link Tableau Cloud to connect. It will open Sign in window. Sign in with your Tableau Cloud credentials.
6. In the “Publish Workbook to Tableau Cloud” dialog box, configure the various options for your data source like
Select the Project where you’d like to publish the workbook
Give it a name and description (optionally)
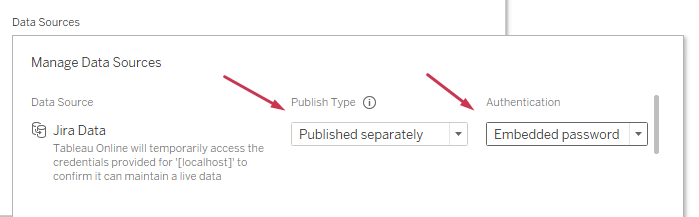
Click Edit link next to the Data Source to manage data source publish type and authentication
Since the Bridge keeps data fresh for published data sources only, i.e., data sources published separately from workbooks, and Bridge can't keep data fresh in data sources embedded in workbooks, set the Publish type = “Published separately” and Authentication = Embedded password.
Click Publish to publish the Workbook.
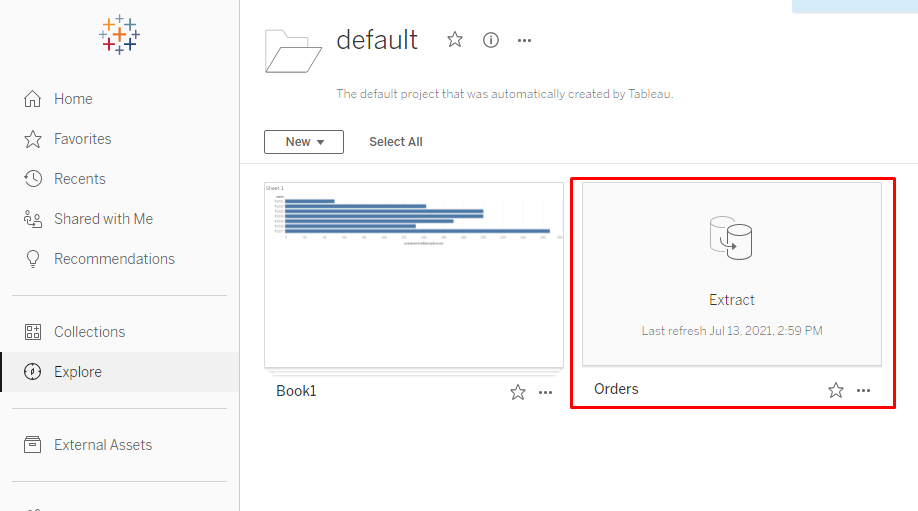
7. To set up scheduled refresh go to Tableau Cloud, click Explore at the left navigation panel, and select the project you chose for publishing the Workbook. At the project page select Extract
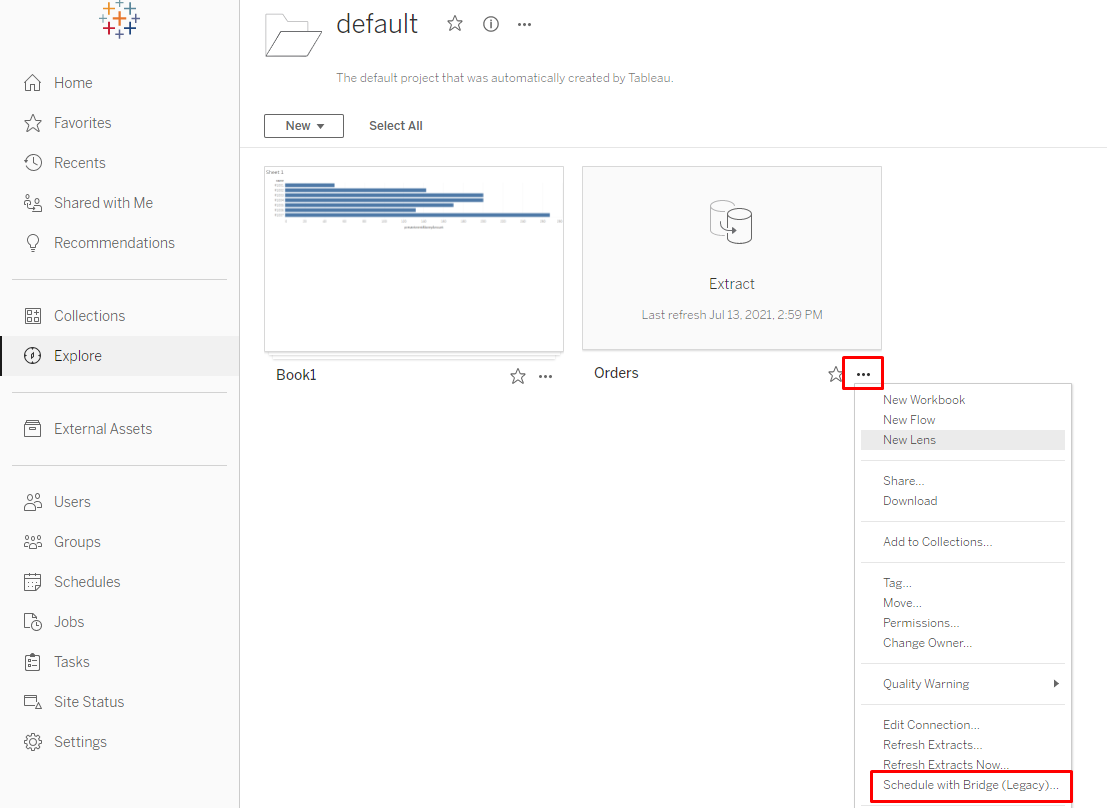
8. Click Extract ellipsis and select Schedule with Bridge (Legacy)
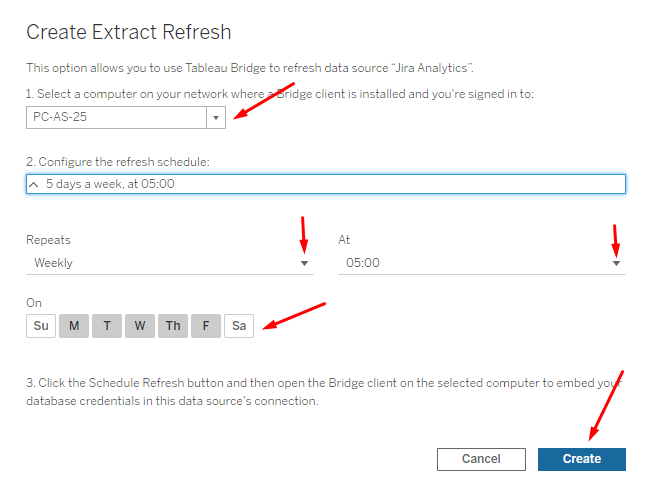
9. At Create Extract Refresh
Choose a computer on your network where a Bridge client is installed and you are signed in
Configure the refresh schedule. Monthly, Weekly, Daily, and Hourly refreshes are available with the set of additional settings like day and time.
Click Create button.
10. Since you use the Bridge (legacy) schedule to refresh your data sources, you must embed the Tableau Connector credentials for your shop in the connection information in the Bridge client. This task must be done even if you embedded the database credentials at publishing time on Tableau Desktop.
Do the following:
Open the Windows system tray and click the Bridge icon to open the client.
Point to the data source, and then click the Edit icon.
In the dialog box, enter the Tableau Connector credentials for your shop that required for accessing the data, and then click Save.
...
Publishing Workbooks on a Tableau Cloud process may vary depending on the way the data is exported. A Scheduled Refresh task can be configured after the publishing process.
If data is exported from Jira Cloud using OData, below are steps to publish a Workbook into Tableau Cloud and schedule constant refreshes:
OData: Schedule a Refresh on Tableau Cloud
If data is exported from Jira Cloud using Web Data Connector, below are steps to publish a Workbook into Tableau Cloud and schedule constant refreshes: