Export data into Power BI Desktop, create the reports or dashboards you need and save your file.
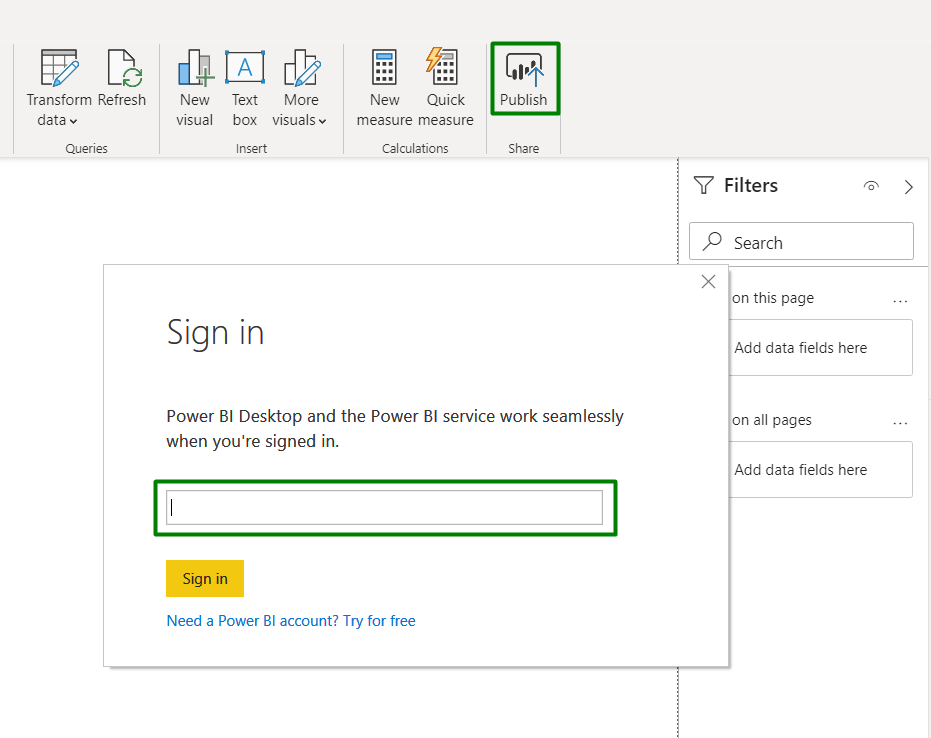
Select Publish,and then select Sign in with your Power BI Service account (if you are not signed in).
3.
Select
a workspace where you’d like to publish your report or dashboard
, and then select Select.
| Info |
|---|
Power BI will start |
publishing your report or dashboard to your Power BI Service workspace. |

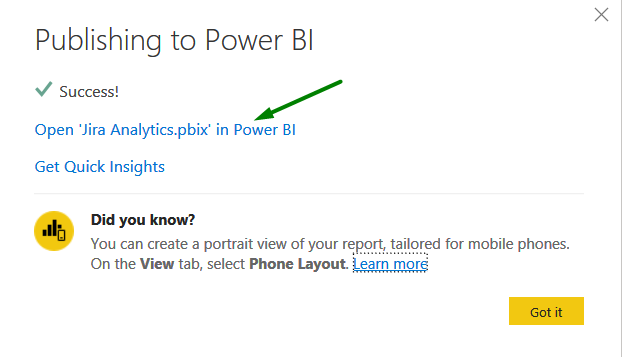
4.
| Info |
|---|
After successful publishing, you may review your report by clicking on the link or by going directly to your Power BI Service. |
5. In your Power BI Service:
Select Workspaces, and then select the workspace where you published your report or dashboard
.
In front of your published report or dashboard
, select Schedule refresh.

6. In the Schedule refresh window select the data set for configuring scheduled refresh
7. Expand the Gateway connection
Use On
[Optional] If it’s required, expand the Gateway and cloud connections section and set up a gateway connection according to your specific needs.
| Info |
|---|
If you don’t have a gateway installed, please follow the guide Download and install a standard gateway. You may use on-premises data gateway or |
on-premises data gateway (personal mode). Please find more details here. |
On-premises data gateway
On-premises data gateway allows multiple users to connect to multiple on-premises data sources. You can use an on-premises data gateway with all supported services, with a single gateway installation. This gateway is well-suited to complex scenarios with multiple people accessing multiple data sources.
If you don’t have a gateway installed please follow the guide Download and install a standard gateway.
To use a data gateway, make sure the computer is online and the data source is added in Manage Gateways.
To add a Data Source to On-premises data gateway, please select the corresponding data sources and then click Add to gateway.
To add a Data Source to the gateway (standard mode):
Enter Data Source Name
Select Data Source Type: OData
Paste Data Source URL
Select authentication Method: Basic
Enter credentials (Username and Password) that were used for exporting Jira’s data
If you need assistance in configuring the gateway, please contact your Network administrator. You may also refer to this article for additional information - Add or remove a gateway data source. |
[Optional] Select Edit credentials.
| Info |
|---|
If you experience one of the errors: Failed to test the connection to your data source. Please retry your credentials or Data source can’t be refreshed because the credentials are invalid. Please update your credentials and try again, follow the steps below. If you don’t face an error, please proceed to step 13. |
In the Authentication method field, select Basic.
In the User name, enter your Jira username.
In the Password field, enter your Jira password.
Select Sign in.
| Info |
|---|
Also, you can use PAT (Personal Access Token) to schedule a refresh.
|
On-premises data gateway (personal mode)
On-premises data gateway (personal mode) allows one user to connect to sources, and can’t be shared with others. An on-premises data gateway (personal mode) can be used only with Power BI. This gateway is well-suited to scenarios where you’re the only person who creates reports, and you don't need to share any data sources with others.
If you have no personal gateways installed, you’ll be offered to Install it.
Refer to the Install the on-premises data gateway (personal mode) guide for more details.


8. If the message appears that the data source can’t be refreshed because the credentials are invalid simply click Edit credentials and provide the data source with credentials (via Basic authentication).

9. Expand Scheduled Refresh
set it ‘On’
fill out all the fields to configure the refresh
.gif?version=1&modificationDate=1706885337564&cacheVersion=1&api=v2&width=882)
Expand the Refresh section, and then turn it on.
Select refresh frequency and time zone, and then select Add another time.
Configure the time you need, and then select Apply.
| Tip |
|---|
Now your data set will be |
refreshed according to the configured schedule. |

10. To review refresh history click Refresh history