Administer Jira Cloud Permissions are required to follow the instructions on this page.
Administer Jira Cloud Permissions are required to follow the instructions on this page.
To get more information on this, please read this article. |
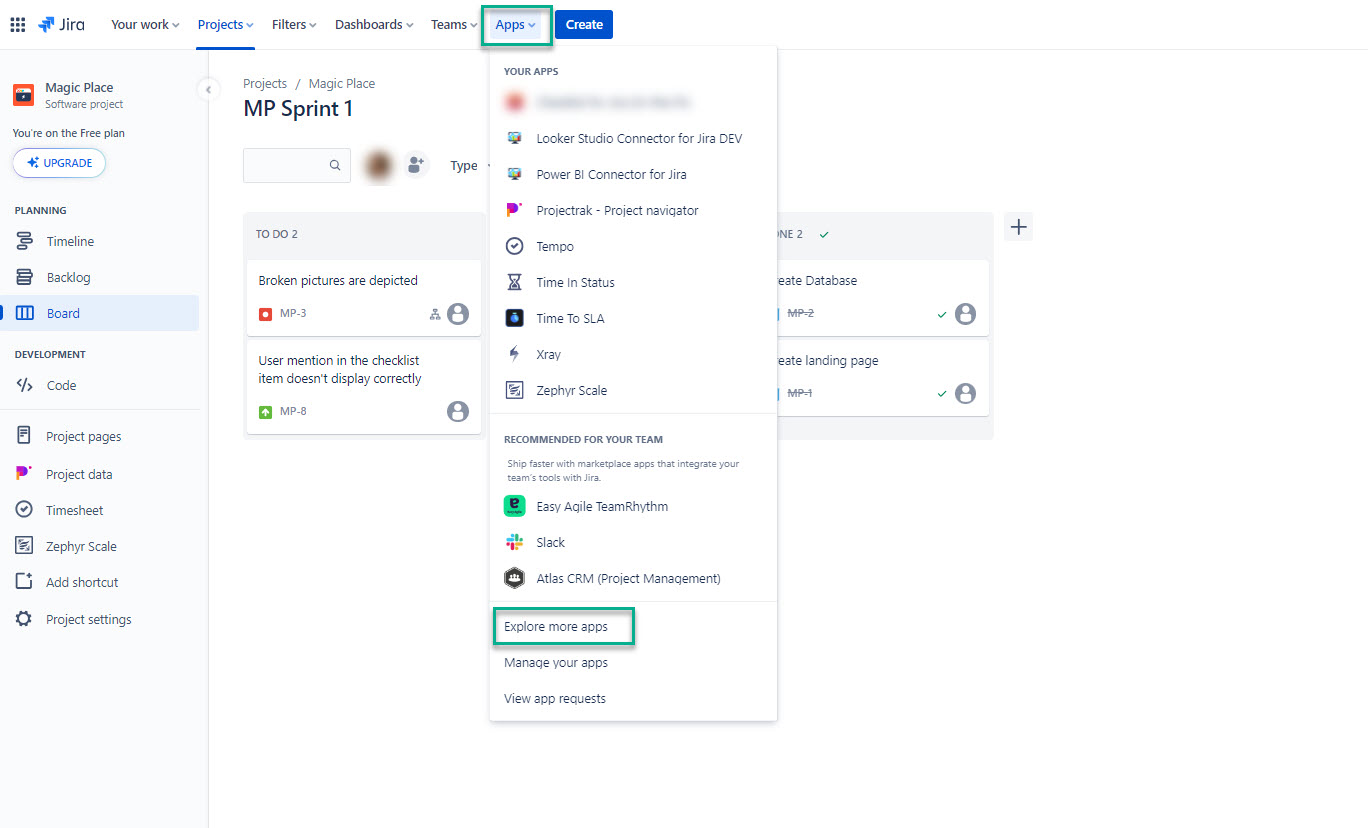
Being signed in to your Jira cloud instance, select Apps, and then select Explore more apps.
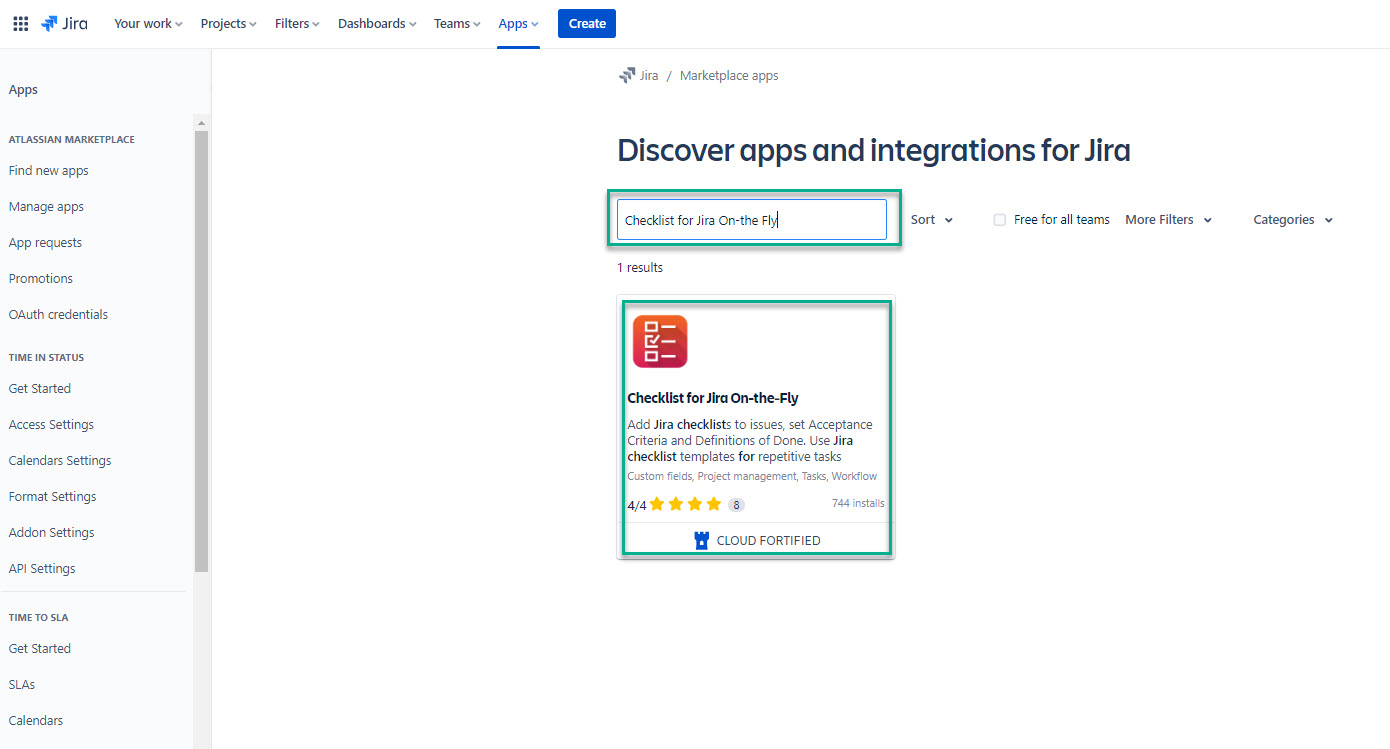
In the Search for apps box, enter Checklist for Jira On-the-Fly, and then press the Enter button.
Select Checklist for Jira On-the-Fly.
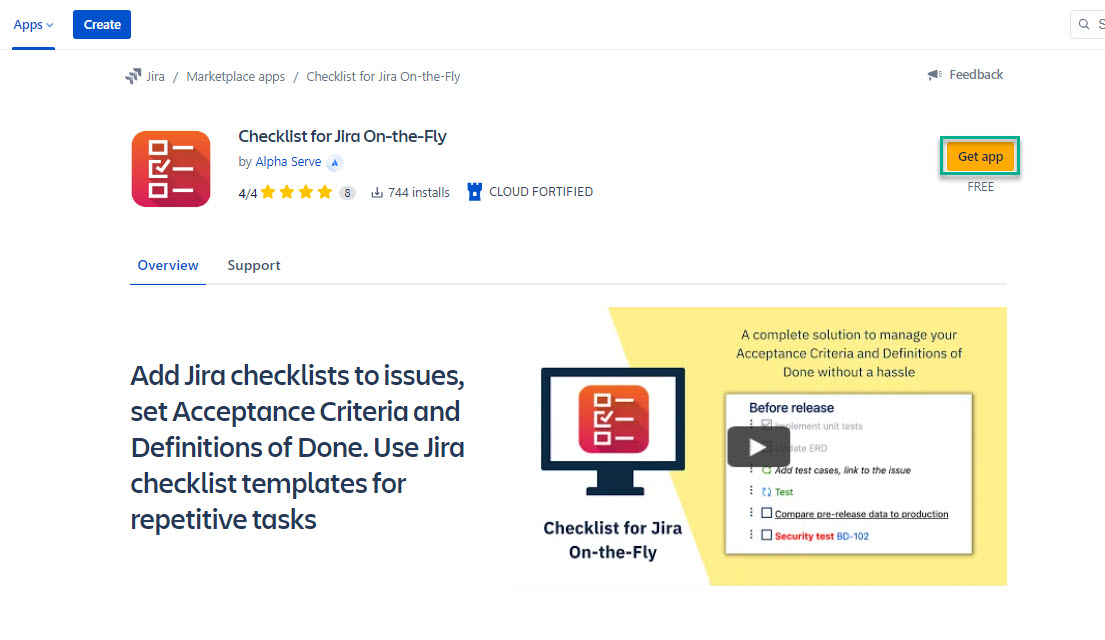
Select Get app.
Select Get it now.
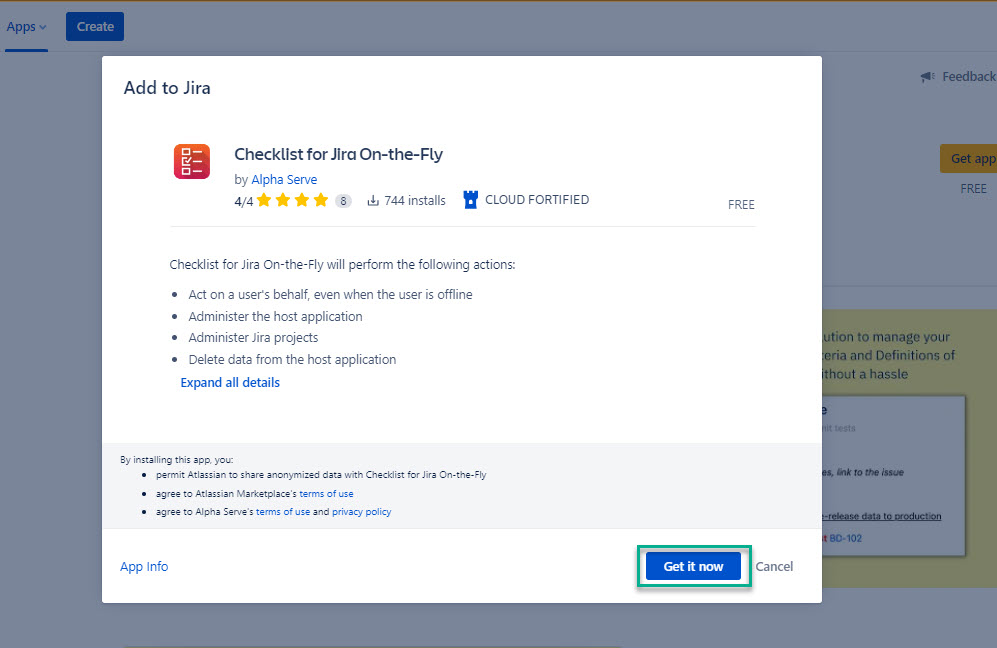
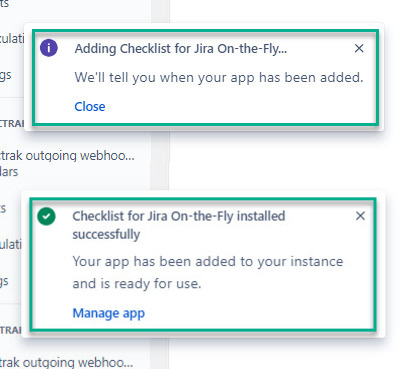
The Adding Checklist for Jira On-the-Fly pop-up window will appear. The installation might take a few moments. After the app is installed, the Checklist for Jira On-the-Fly installed successfully pop-up window will appear. |
Navigate to Atlassian Marketplace.

Select Get it now.
Make sure to select Cloud.
Make sure to select Cloud.

Select a site to install the app, and then select Install app.
If you’re not signed in to your Atlassian account, before installing the app, Atlassian will ask you to sign in. |

Being signed in to your Jira cloud instance, select Apps, and then select Manage your apps.

Expand Checklist for Jira On-the-Fly, and then select Uninstall.
If you can’t find the app in the list, you can look for it via the Filter visible apps box. |
Uninstalling an app permanently removes it from your application and file system. If you only want to temporarily remove it, you can disable it. |
If you need instructions on how to disable Checklist for Jira On-the-Fly, refer to our Administrator Guide. |
