Administer Jira Cloud Permissions are required to follow the instructions on this page.
| Table of Contents | ||||||||||||||||||
|---|---|---|---|---|---|---|---|---|---|---|---|---|---|---|---|---|---|---|
|
How to Enable or Disable Checklist for Jira On-the-Fly
Being signed in to your Jira cloud instance, select Apps, and then select Manage your apps.
By default, Checklist for Jira On-the-Fly is enabled for all existing projects and will be enabled for all new projects.

On the left-side menu, select Projects (Under CHECKLIST FOR Jira ON-THE-FLY).
| Info |
|---|
On this page, you can find the list of all projects you have on your Jira cloud instance. |

Disable or enable Checklist for Jira On-the-Fly for the relevant project(s).
| Info |
|---|
If you have a lot of projects and you can’t find the one you need, enter its name/key in the Project name or key box, and then select Filter. |
How to Enable or Disable Issue Status Synchronization
Being signed in to your Jira cloud instance, select Apps, and then select Manage your apps.
By default, issue status synchronization is disabled for all existing projects and will be disabled for all new projects.
On the left-side menu, select Projects (Under CHECKLIST FOR Jira ON-THE-FLY).
| Info |
|---|
On this page, you can find the list of all projects you have on your Jira cloud instance. |
Disable or enable issue status synchronization for the relevant project(s).
This feature can be enabled only if Checklist for Jira On-the-Fly is enabled.
| Info |
|---|
If you need more information about status issue synchronization, refer to this page. |
How to Create Custom Statuses
If you feel like default statuses are not sufficient, we provide you with the opportunity to create custom statuses to meet your project goals.
Being signed in to your Jira cloud instance, select Apps, and then select Manage your apps.
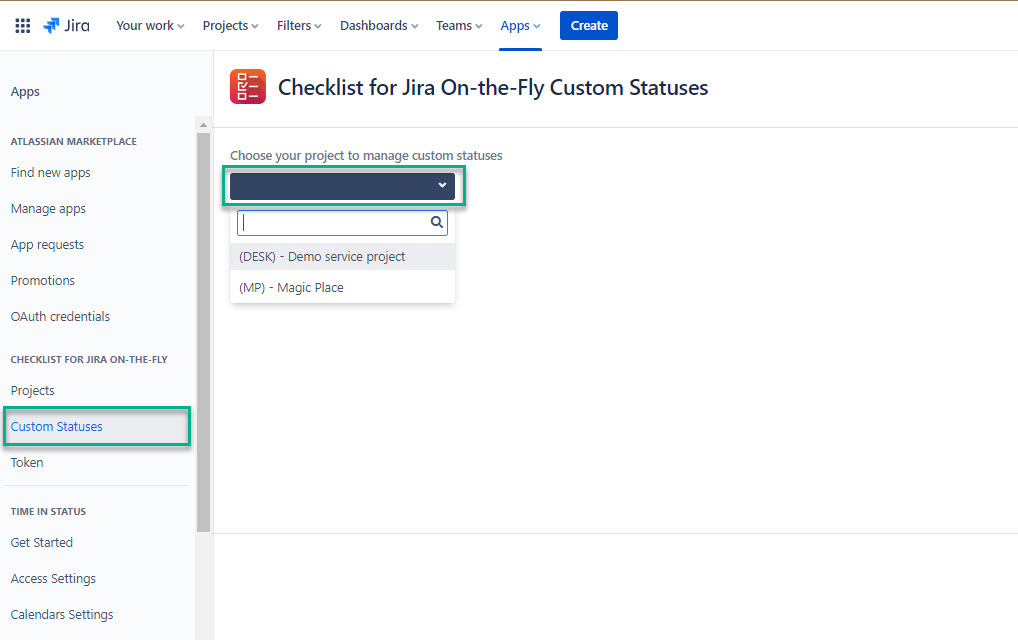
Select Custom Statuses (Under CHECKLIST FOR Jira ON-THE-FLY), and then select the project where you want to create custom status(es).
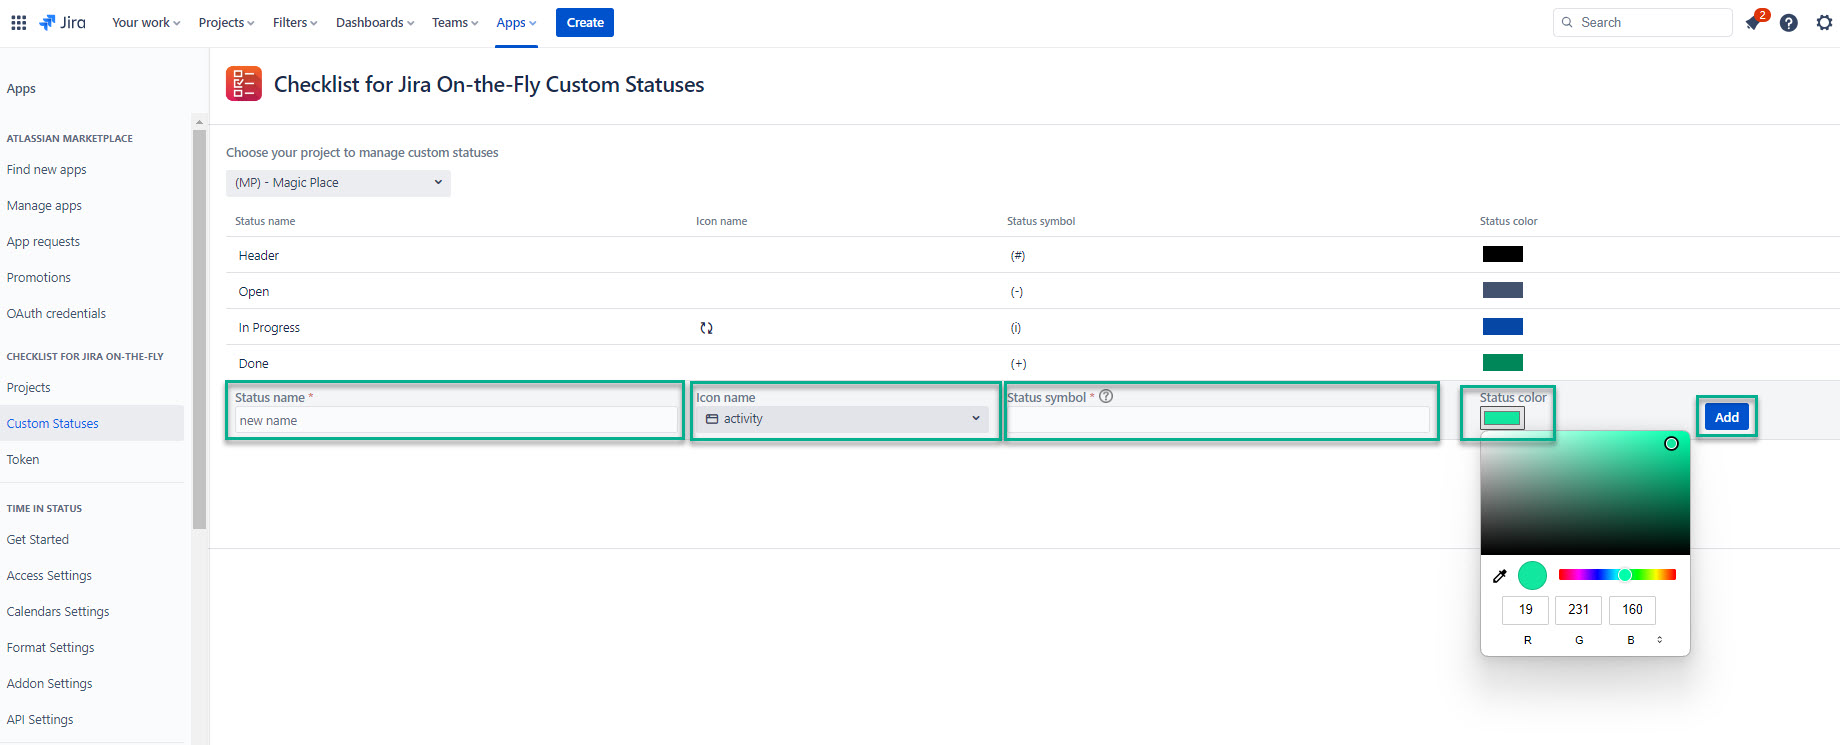
In the Status name* field, enter the name for your custom status.
In the Icon name field, select the required icon for custom status.
In the Status symbol* field, enter the symbol for custom status.
Select color, and then select Add.
| Info |
|---|
If you need more information on custom statuses, refer to this page. |
Domain Whitelist
Please add the following domains to your whitelist:
| Code Block |
|---|
https://checklist-cloud-prod.alphaservesp.com
https://connect-cdn.atl-paas.net
https://code.iconify.design
https://unpkg.com
https://cdnjs.cloudflare.com
https://ajax.googleapis.com
https://marketplace.atlassian.com
https://aserve.atlassian.net |