You must have the Jira Cloud Administrator rights to be able to carry out the instructions on this page. You can learn more about this here.
Please take a look at Supported Platforms section as well.
How to install Tableau Connector for Jira Cloud?
Step 1. Go to the Jira Cloud Manage apps section.
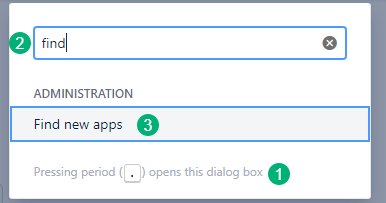
Press dot
( . )on your keyboard. Search dialog box will open.Start to type “Find new apps” phrase. You’ll see a suggestion
Click on “Find new apps” administration section. You’ll be navigated to the Jira marketplace page.
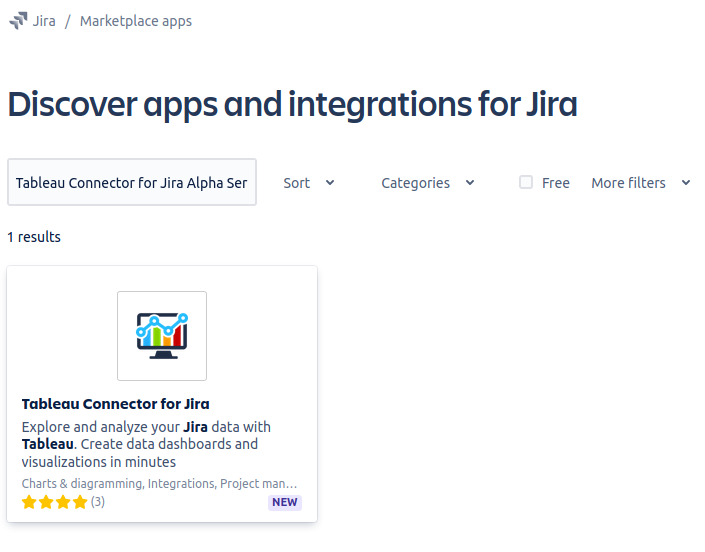
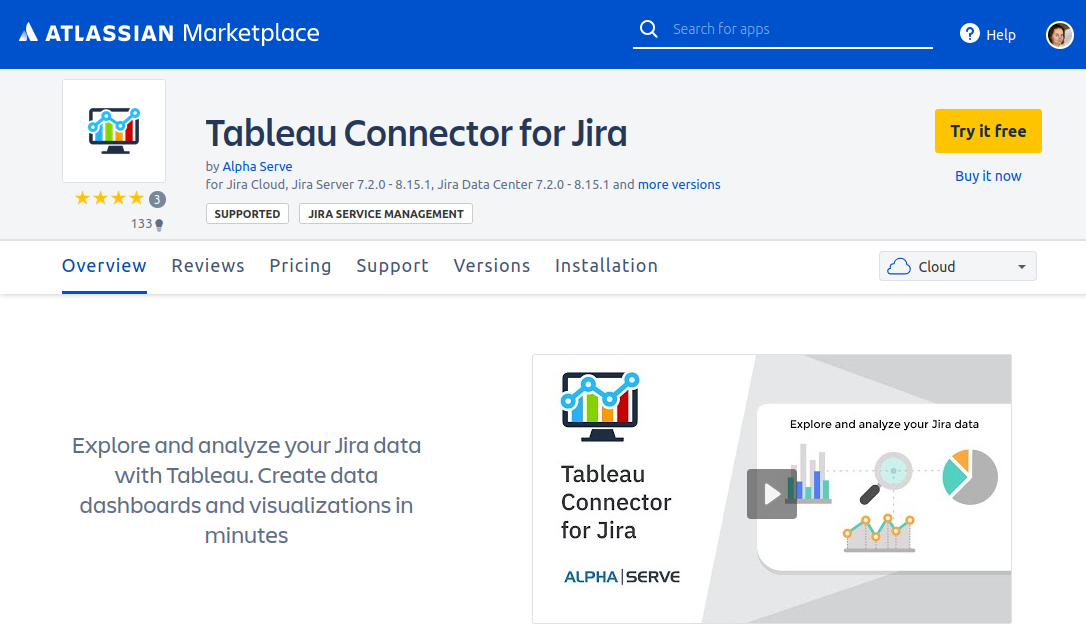
Step 2. Enter “Tableau Connector for Jira Alpha Serve”in the search field, press Enter and find application in the search result.
Click on it.
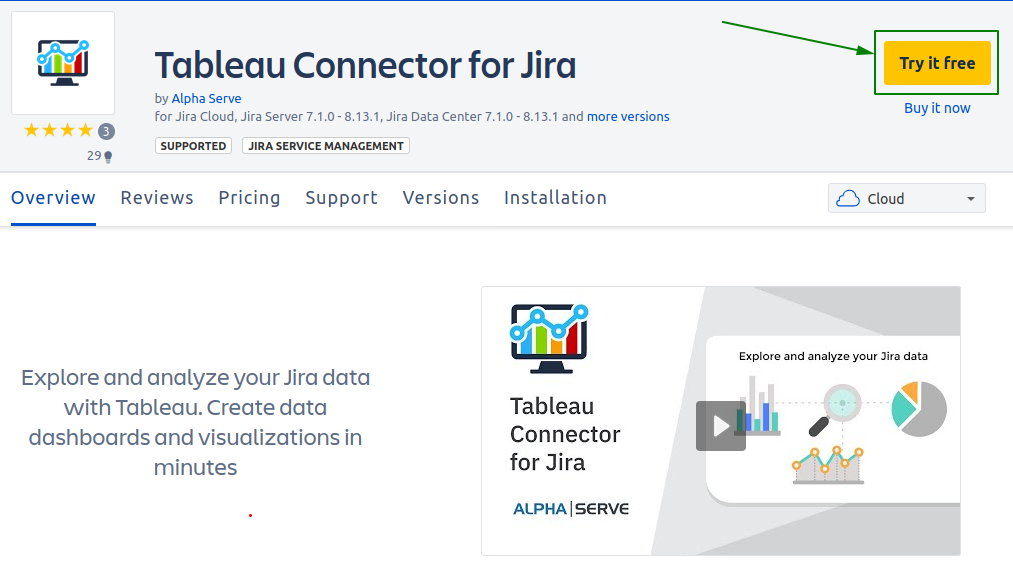
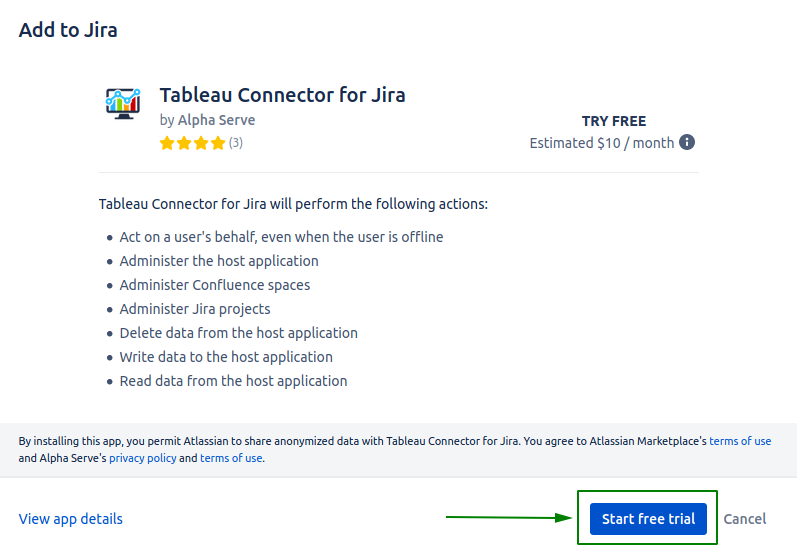
Step 3. Click Try it free to get a 30-day free trial license.

Step 4. In opened window click button Start free trial. You'll be informed about plugin installation process started.
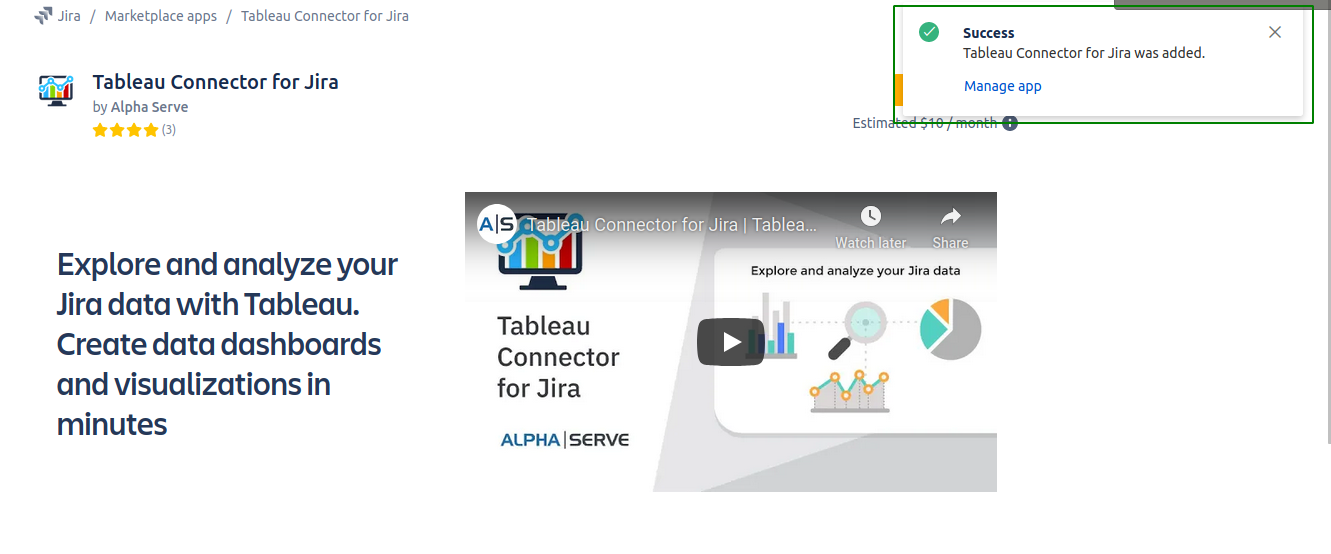
You’ll be notified about successful installation.
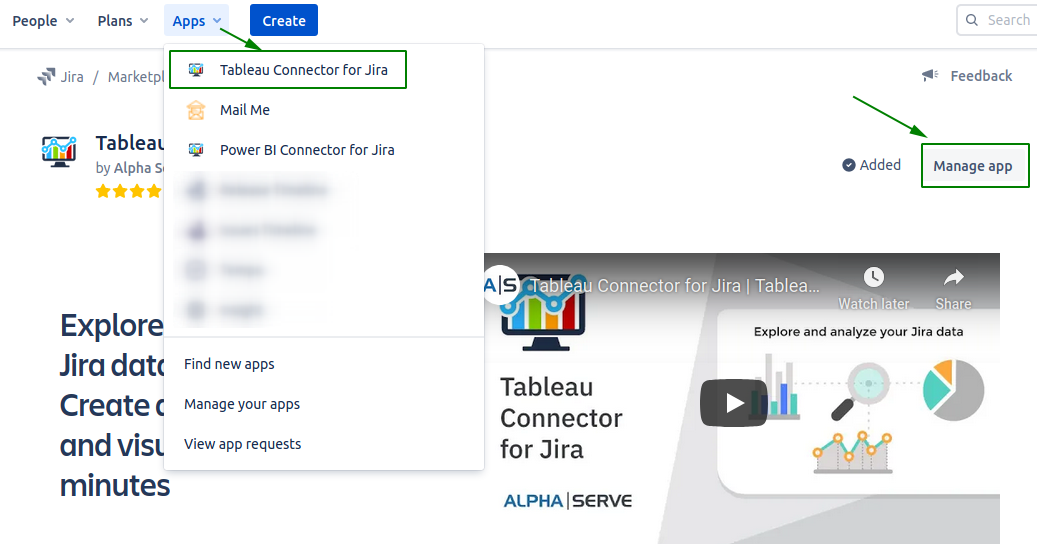
You can easily access Tableau Connector for Jira from the main navigation menu: Apps → Tableau Connector for Jira
or
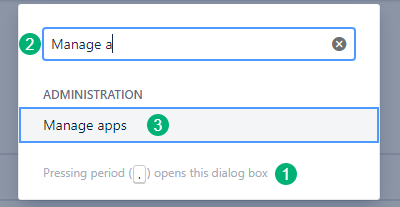
from the Manage apps section (to access Manage apps section form any Jira page press dot ( . ) on your keyboard and in Search dialog box type Manage apps.
You can also install Tableau Connector for Jira Cloud directly from Atlassian Marketplace by visiting the application product pagehere and selecting Cloud hosting option.

How to uninstall or disable Tableau Connector?
Step 1. Go to the Jira Cloud Manage apps section.
Press dot
( . )on your keyboard. Search dialog box will open.Start to type “Manage apps” phrase. You’ll see a suggestion
Click on “Manage apps” administration section. You’ll be navigated to the Jira Manage apps page.
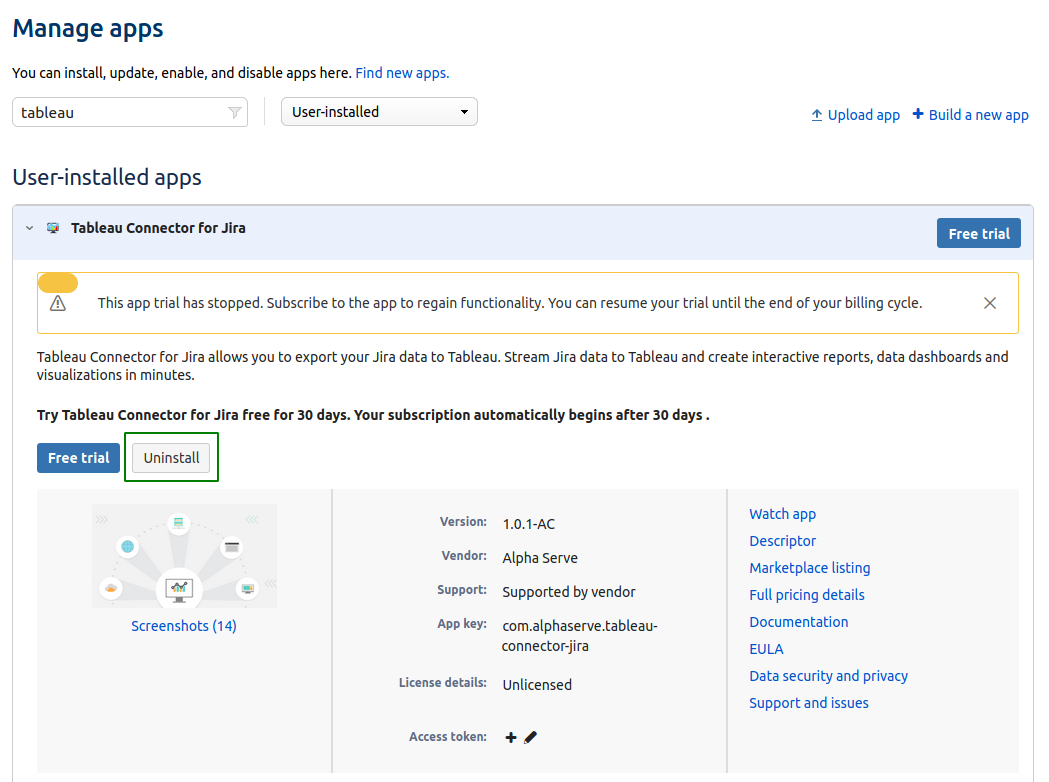
Step 2. In Manage apps section
To find the add-on in your list, type “Tableau BI Connector”in the search field
Expand Tableau BI Connector for Jira by clicking on it
Click Stop trial button to stop trial. In opened window confirm that you’d like to cancel your trial to end app functionality.
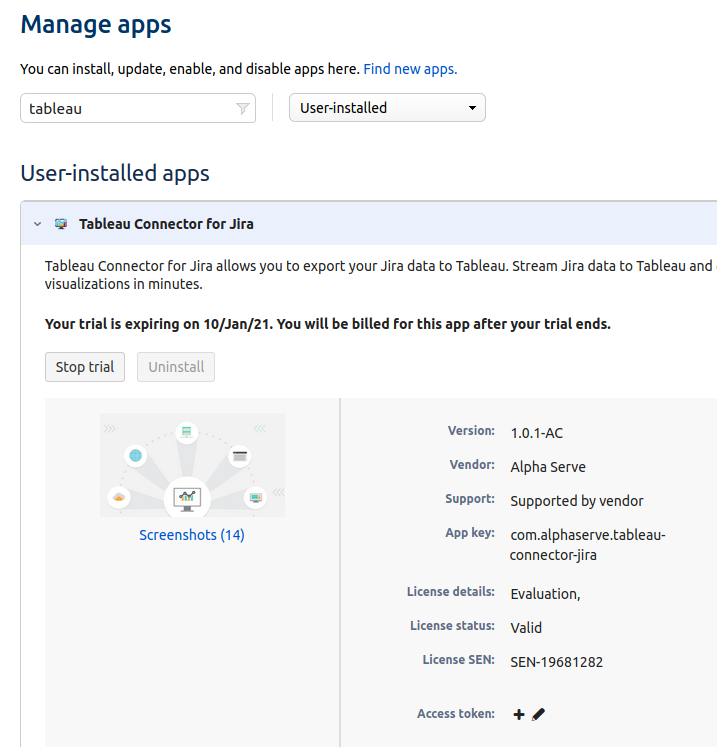
Step 3. Now you can Uninstall the app completely by clicking Uninstall button. Also you can resume your trial by clicking Free trial button.
Note! Uninstalling the app permanently removes it from your application and file system. If you only want to temporarily stop the trial, you can just Stop Trial for your instance without complete uninstallation.