You must have the relevant Shopify account permissions to follow the instructions on this page.
Check Shopify Help Center for more information.
| Table of Contents |
|---|
How to Export Shopify Data to Tableau
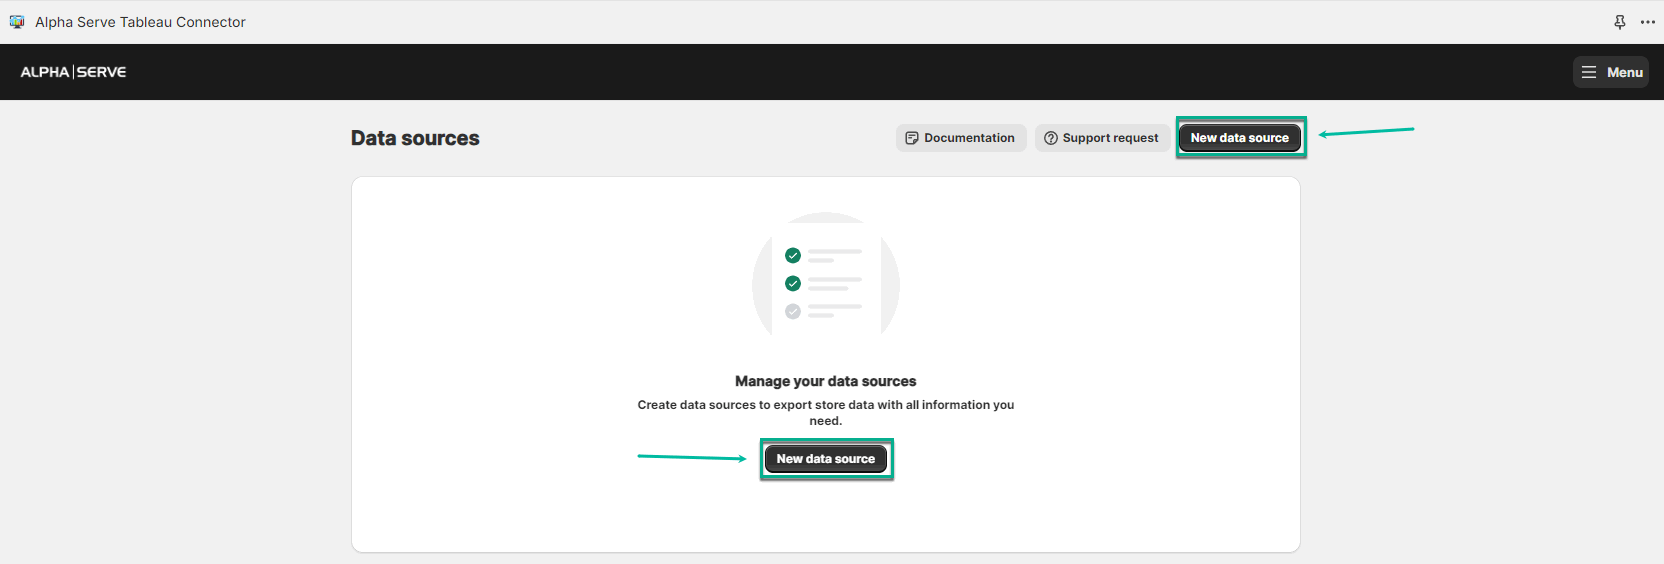
1. Create Data Source
Initially, you need to create a data source for data you want to export from your Shopify store to your Tableau. You can do it by accessing the Data source page inside the Tableau Connector for Shopify.
You have to name your data source, adjust auto-refresh, and filter the tables you’d like to be in your data source.
| Info |
|---|
If you need more information on how to create a data source, please refer to our step-by-step instruction. |
2. Export Shopify Data into Tableau
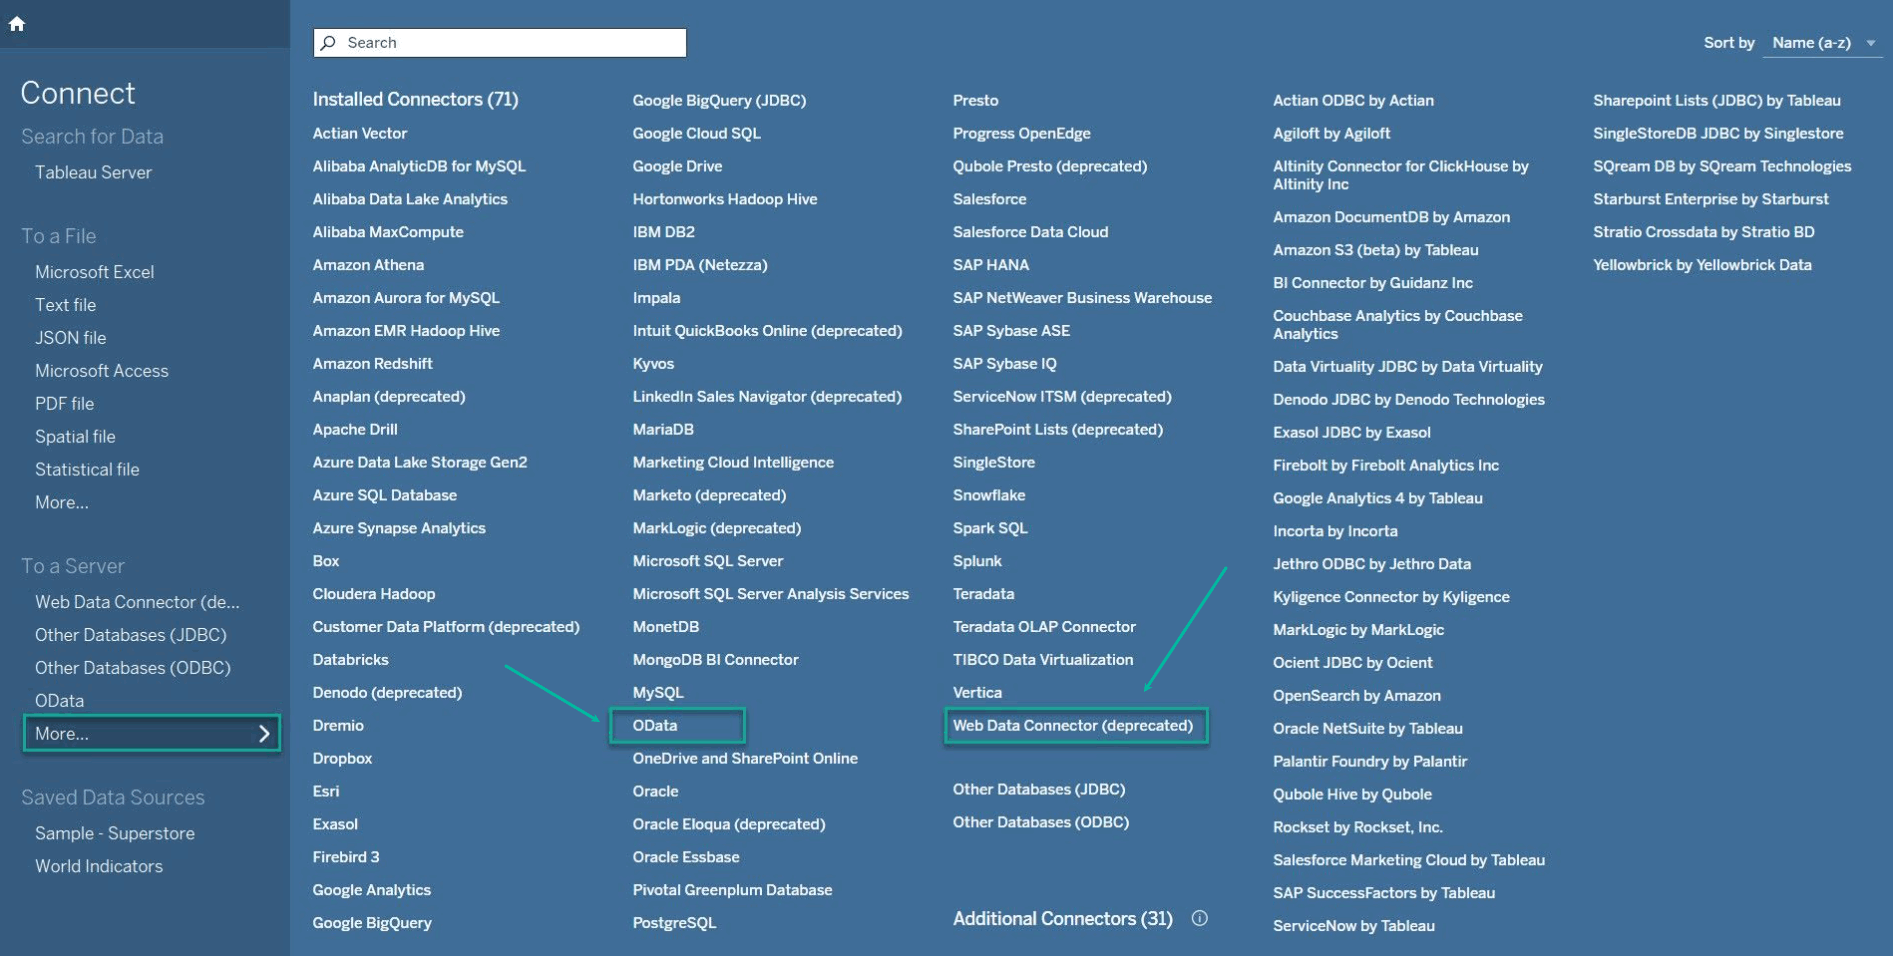
After creating a data source, you can easily export your data into Microsoft Power BITableau. Being on the Data source page, select Copy URL. Launch your Microsoft Power BITableau, authorize, connect, and start working with your data.
Tableau Connector for Jira Shopify offers two ways of exporting data: using OData and using Web Data Connector. You can select one that is more convenient for you.
| Info |
|---|
If you need more information on how to export data, please refer to our step-by-step guide. |
| Info |
|---|
Read a comprehensive step-by-step guide on how to use Tableau Connector for Shopify in our blog ⬇️ |

.png?version=2&modificationDate=1696865440485&cacheVersion=1&api=v2&width=267)