Editing checklists in JIRA consists of redacting Checklist for Jira On-the-Fly items, which are basically created to split into steps your current issue. This is how you can set up already created items and determine in which style and status they will be displayed.
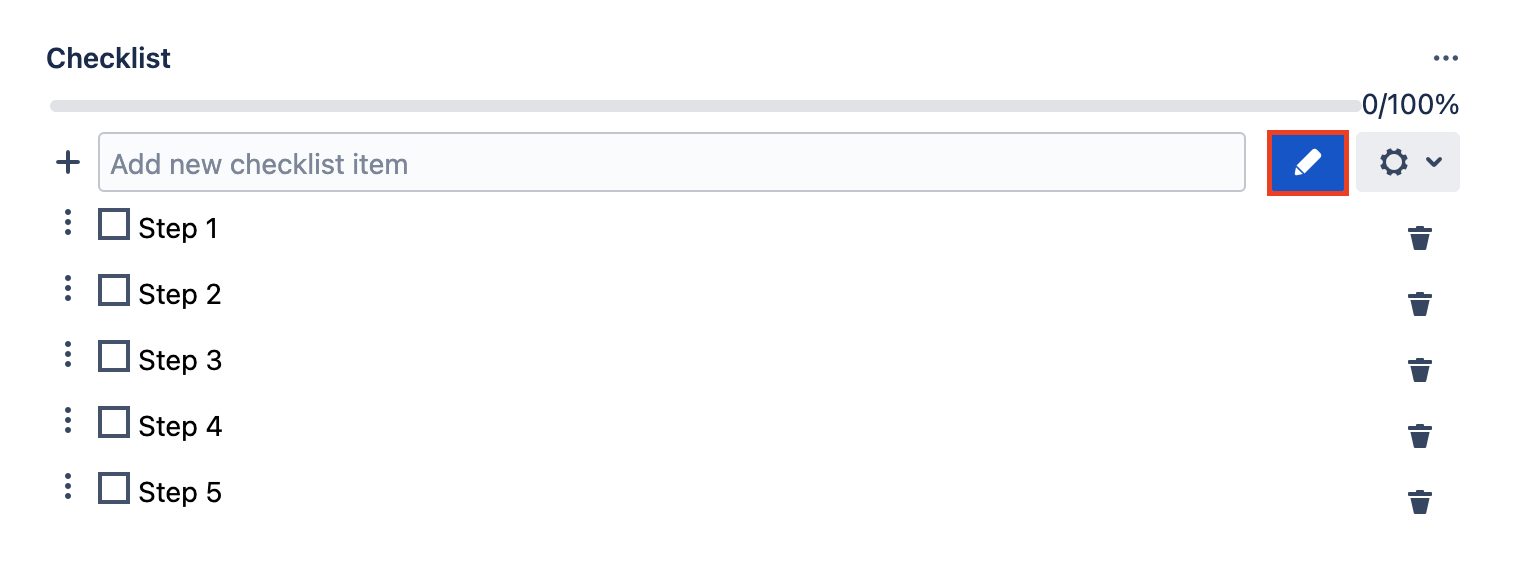
Step 1. Сlick on the icon to the right of the checklist field.
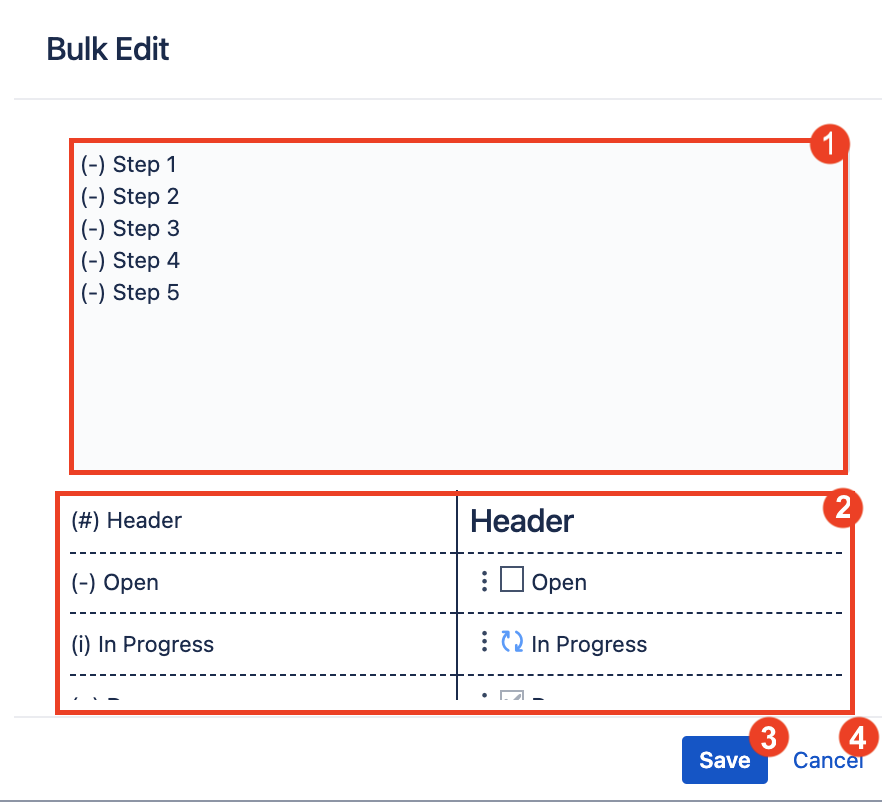
Change the items and statuses.
Correlate the status symbol and the status icon.
Save changes.
Cancel changes.
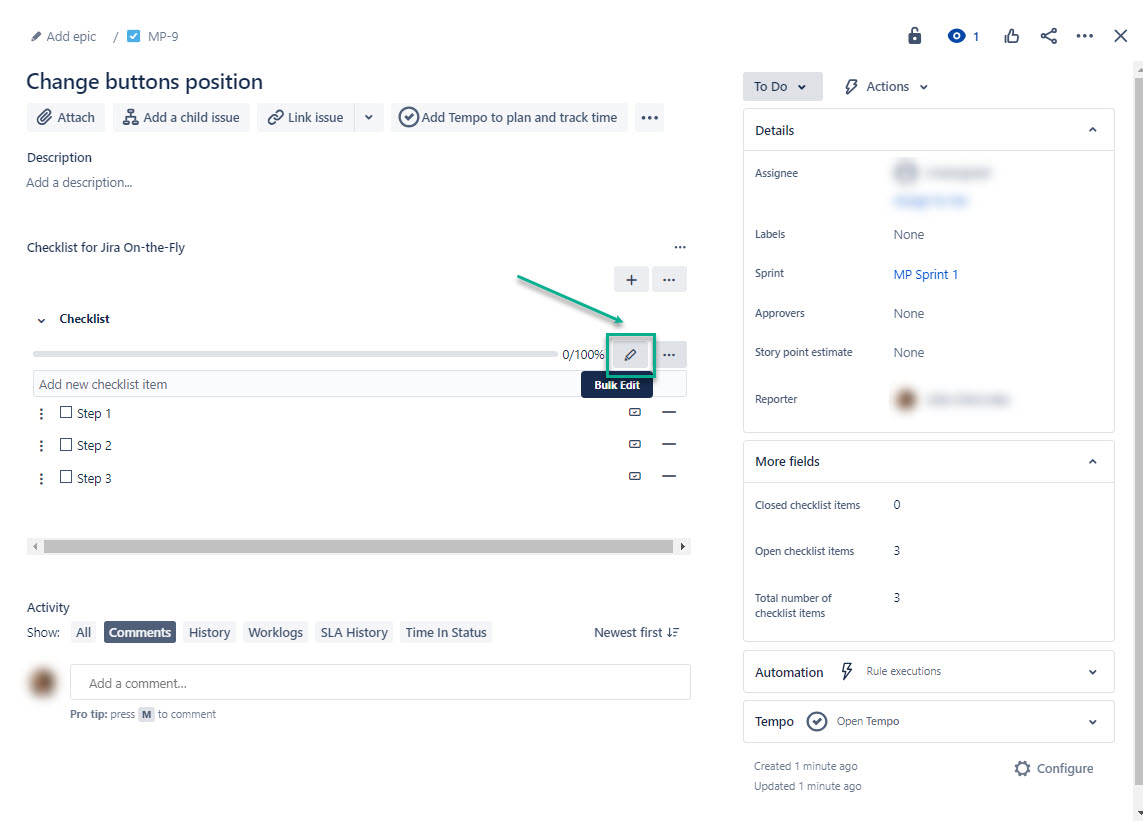
Step 3. Edit your checklist as shown here:
You can edit your checklist by adding, deleting, and renaming steps, as well as headers. You can also apply styles.
Select Bulk Edit.
| Info |
|---|
Here you can edit everything on a single page. |
| Info |
|---|
Use item symbols to edit your checklist. You can edit everything in a single window:
|
| Info |
|---|
If you need detailed information on how it works, please refer to the Checklist On-the-Fly Overview page. |

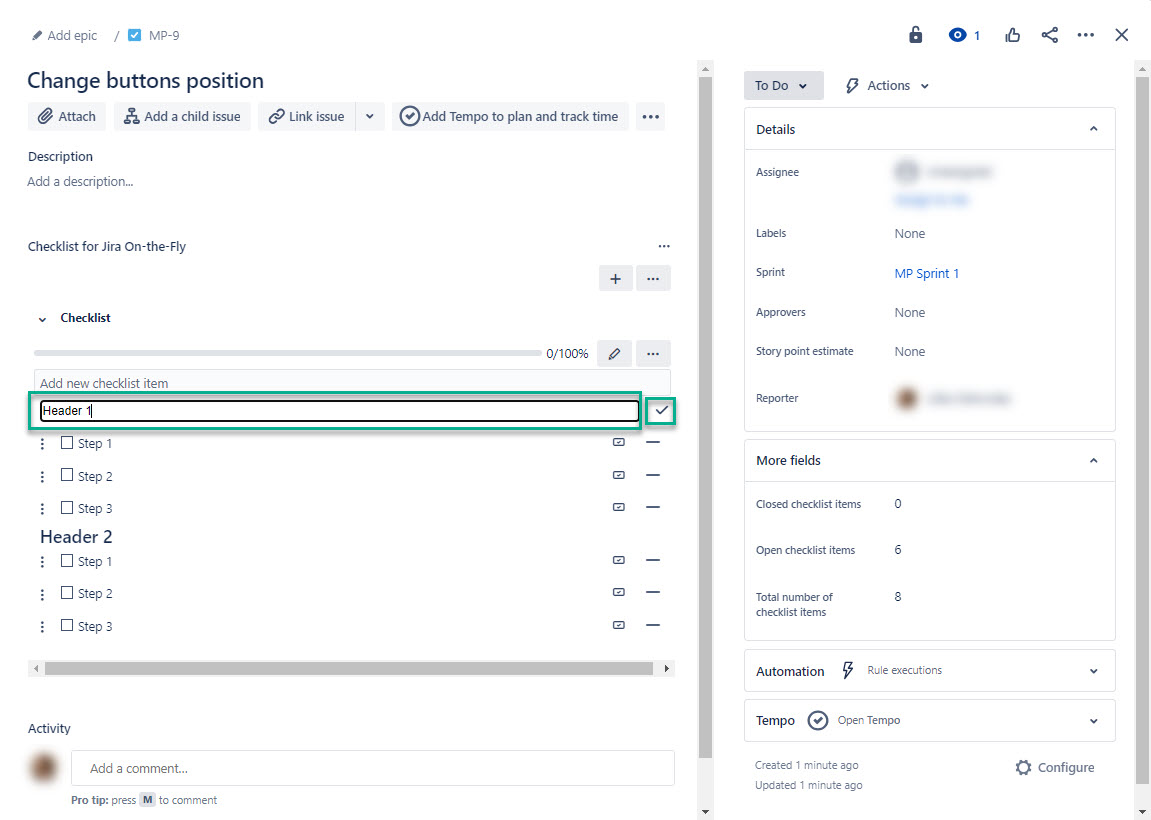
Double-click on the header or checklist item, enter a new name, and then select ✔ (the checkmark icon).
| Info |
|---|
All checklist headers and items are clickable. |
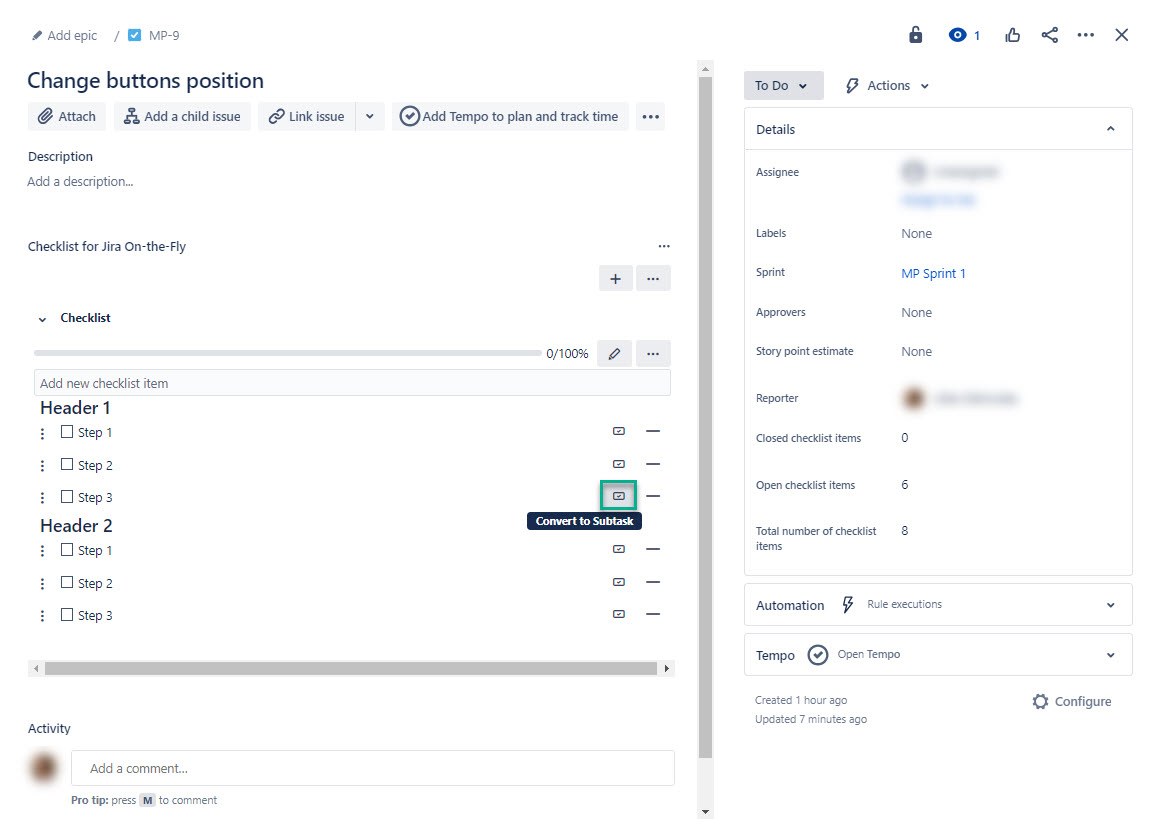
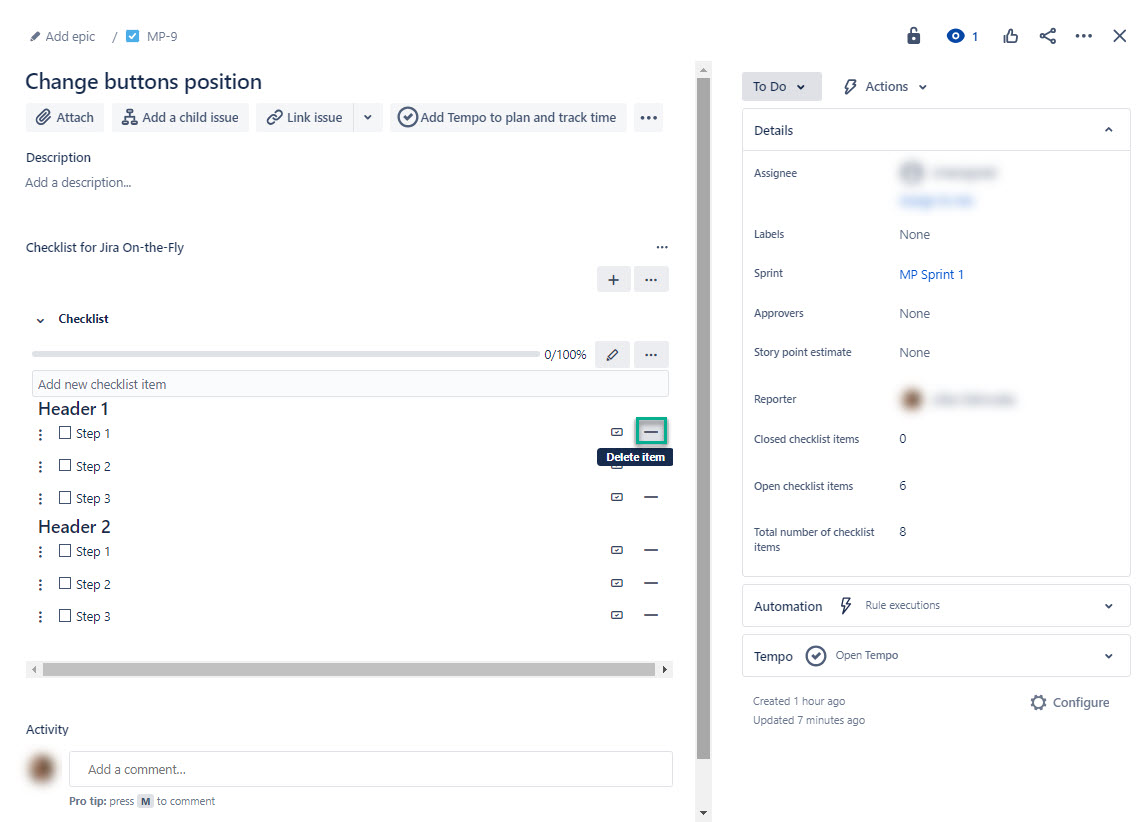
Select – (the delete icon) to remove item from the checklist.
Select ☑ to convert the checklist item to a subtask.
| Info |
|---|
The converted item remains part of the checklist. |